Integrating Till with Node.js
Integration Steps:
Integrating Till with Node.js
Integration Steps:
Till can be easily integrated with your Node.js scraper without much code changes.
Please follow the steps below.
Follow the instructions to install Till
Next, you need to modify your existing Node.js script to integrate with Till.
The following is an example of a GET request:
const got = require('got');
const {HttpsProxyAgent} = require('hpagent');

(async function main() {
  const response = await got.get('https://fetchtest.datahen.com/echo/request', {
    agent: {
      https: new HttpsProxyAgent({
        proxy: 'http://localhost:2933', // Connect to a Till instance
      }),
    },
    https: {
      rejectUnauthorized: false,
    },
    headers: {
      'X-DH-Cache-Freshness': 'now' // Forces a cache miss.
    }
  });

  console.log({ response });
})();
The following is an example of a POST request:
const got = require('got');
const {HttpsProxyAgent} = require('hpagent');

(async function main() {
  const response = await got.post('https://postman-echo.com/post', {
    agent: {
      https: new HttpsProxyAgent({
        proxy: 'http://localhost:2933', // Connect to a Till instance
      }),
    },
    https: {
      rejectUnauthorized: false,
    },
    headers: {
      'X-DH-Cache-Freshness': 'now' // Forces a cache miss.
    },
    json: {
        hello: 'world'
    }
  });

  console.log({ response });
})();
Note: To see a working example, you can visit this link.
Next, run your Node.js script like you normally would.
Note: If you don't have an existing Node.js script to try with Till, you can try our working example here.
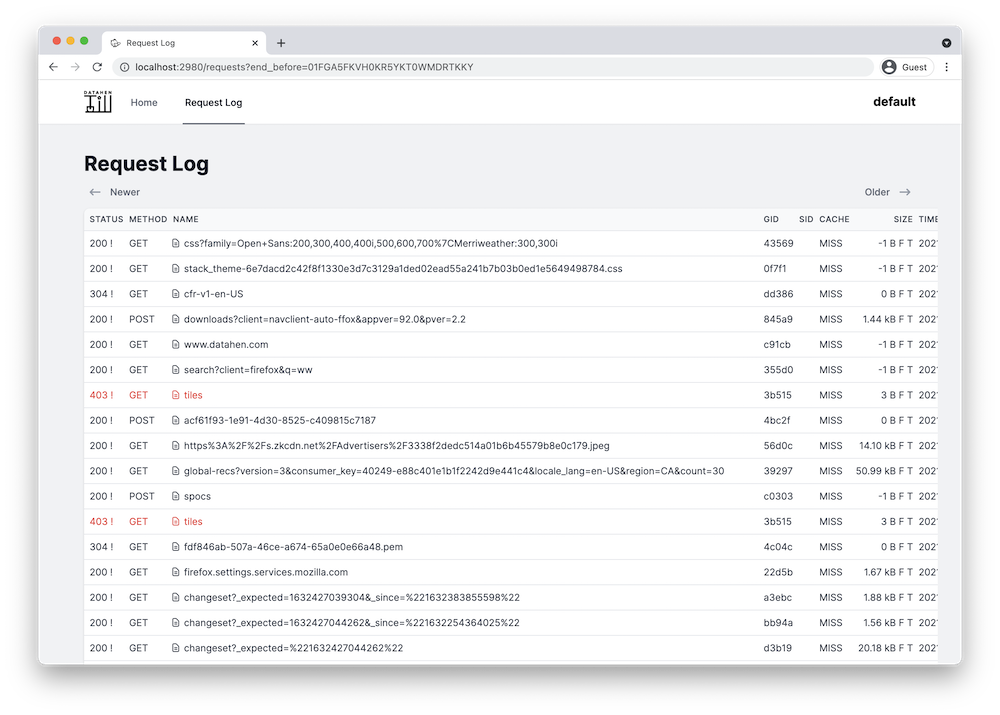
Visit the Till UI at http://localhost:2980/requests to see that your new requests are shown.
Getting Started
How To Use
Integrations
Python
Node.js
Go
Ruby